|
I have been making Ukrainian eggs for as long as I remember. I bet I started making them as early as two years old. My dad was born in the Ukraine and thats where the family egg making originated from. But it was my mom who took the love of designing and making the eggs to the next level.
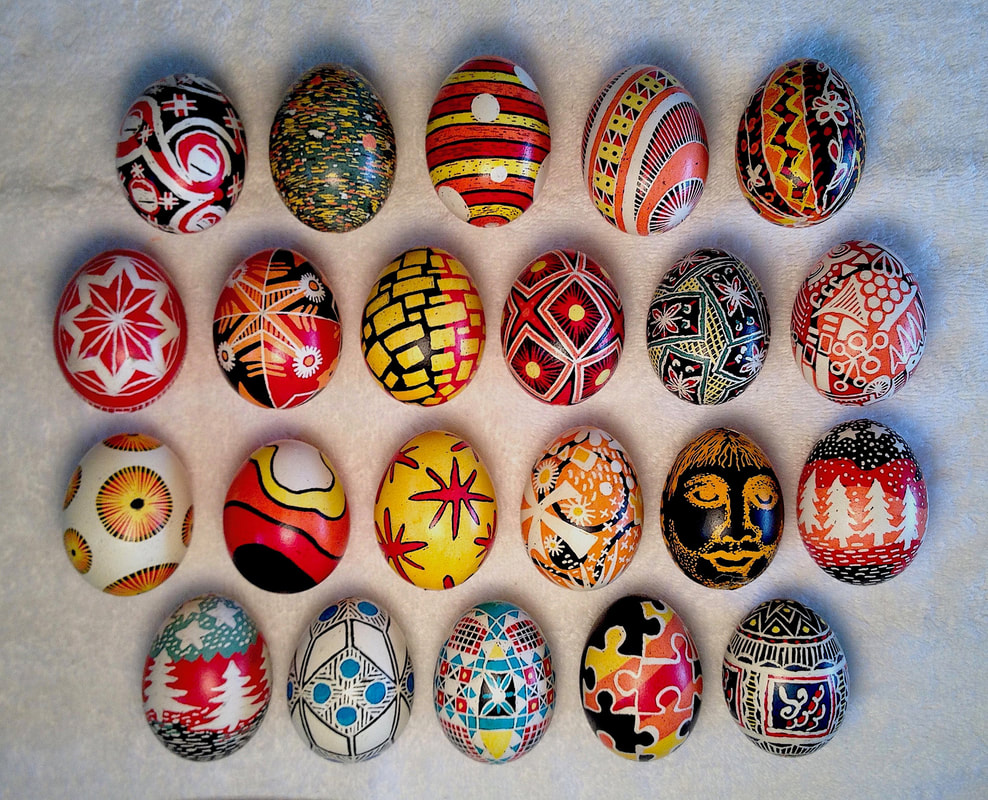
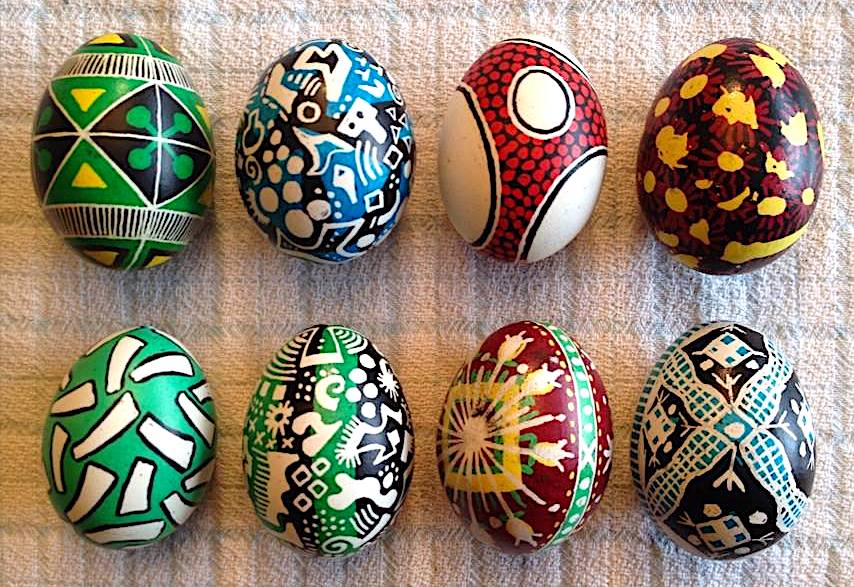
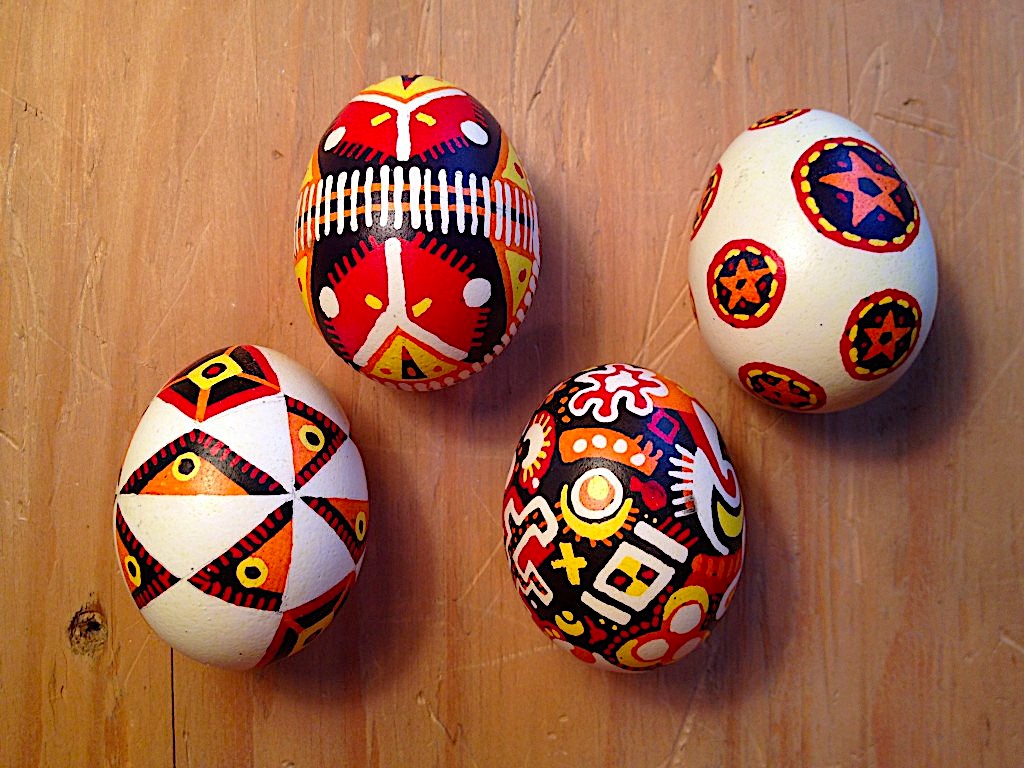
Eggs made in 2017In 2017 I was visiting my mom in Ohio at Easter time. As a surprise I brought along my Ukrainian egg making kit to have some fun. My mom of course stated that she has not made eggs for a long time and she will probably be a bit rusty with the work. I thought to myself that this is the perfect time to bring on a egg making challenge. Who can create the best egg in just one hour time. Her friends will be the judges on which egg came out the best without knowing who made which egg. I created the red egg #4 in the second row. My mom created the framed flowers egg in the second row #5. Overall I did not receive even one vote and my mom easily took the prize. Both eggs are great designs and have hardly any mistakes. Very awesome for one hours work and having no prethought to the design!
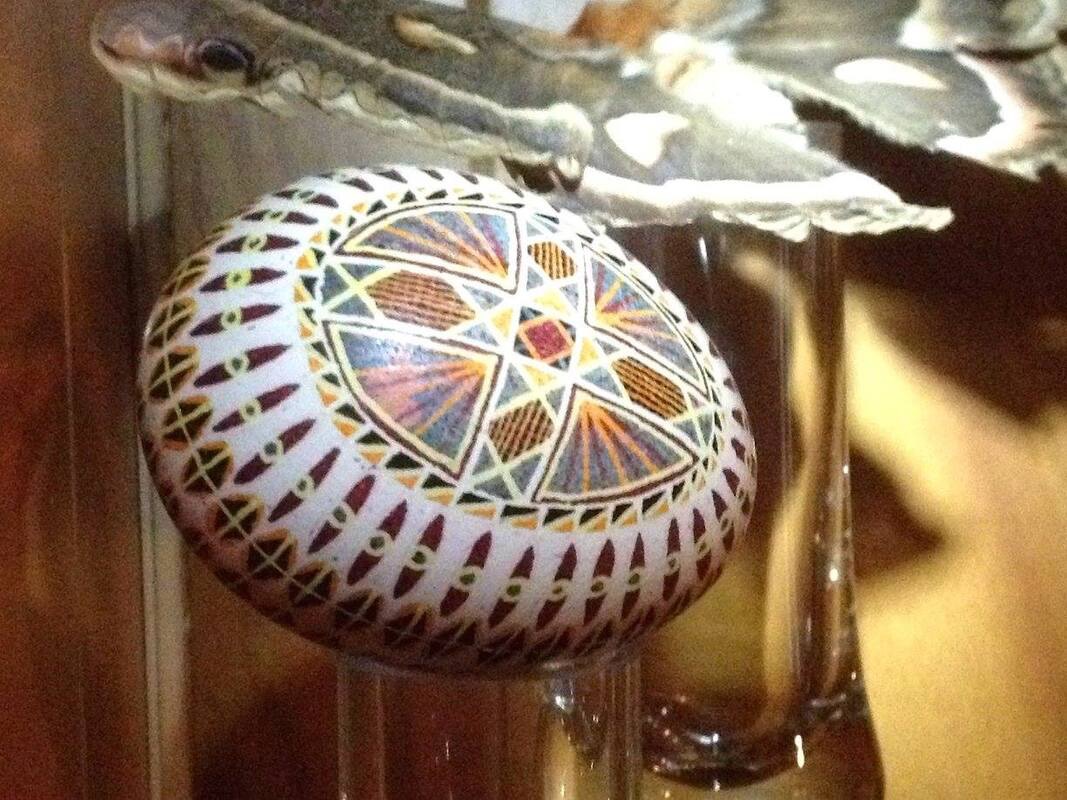
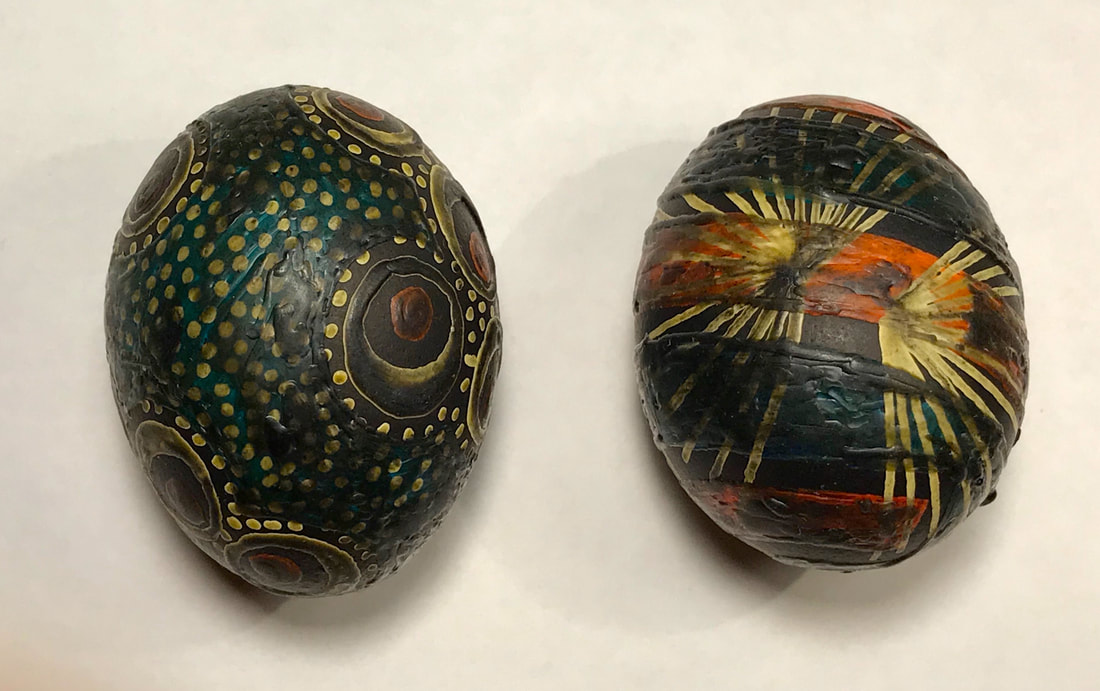
In 1990 I challenged myself to create a masterpiece egg to give to my parents as a special gift. This egg is created half traditional design, and half Marty style mandala design. The challenge is to create the egg design without one mistake which is near impossible since the egg is drawn using a technique using a candle and melted beeswax. The egg came out exquisite taking over 100 hours to create. The last step to completing the egg is to poke a hole on each end of the egg to remove the inner yoke by blowing it out without cracking the fragile egg shell.
|
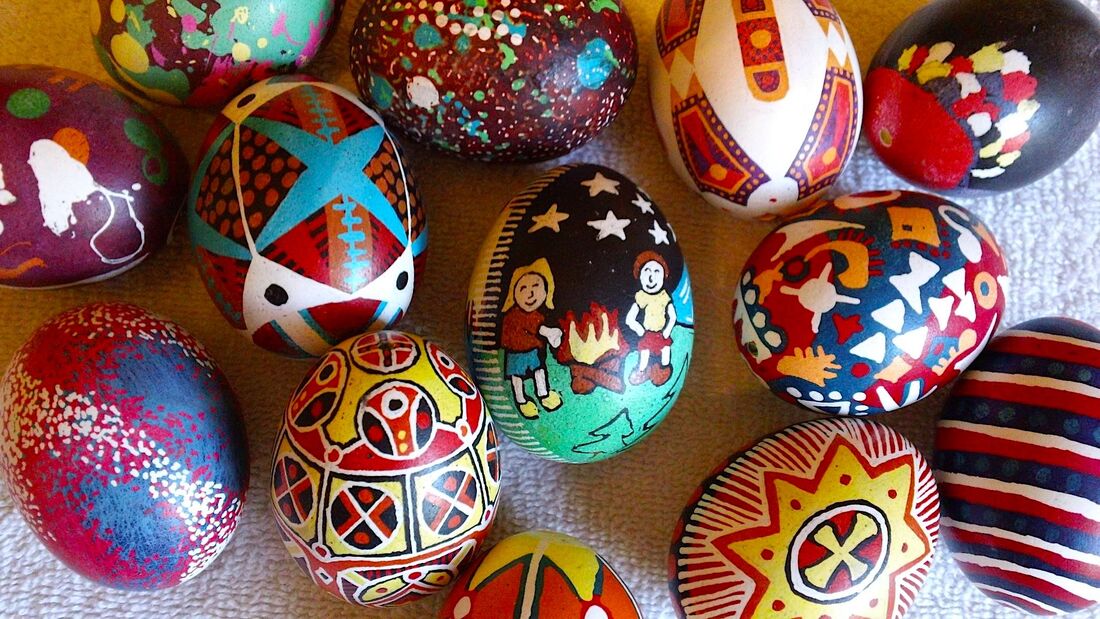
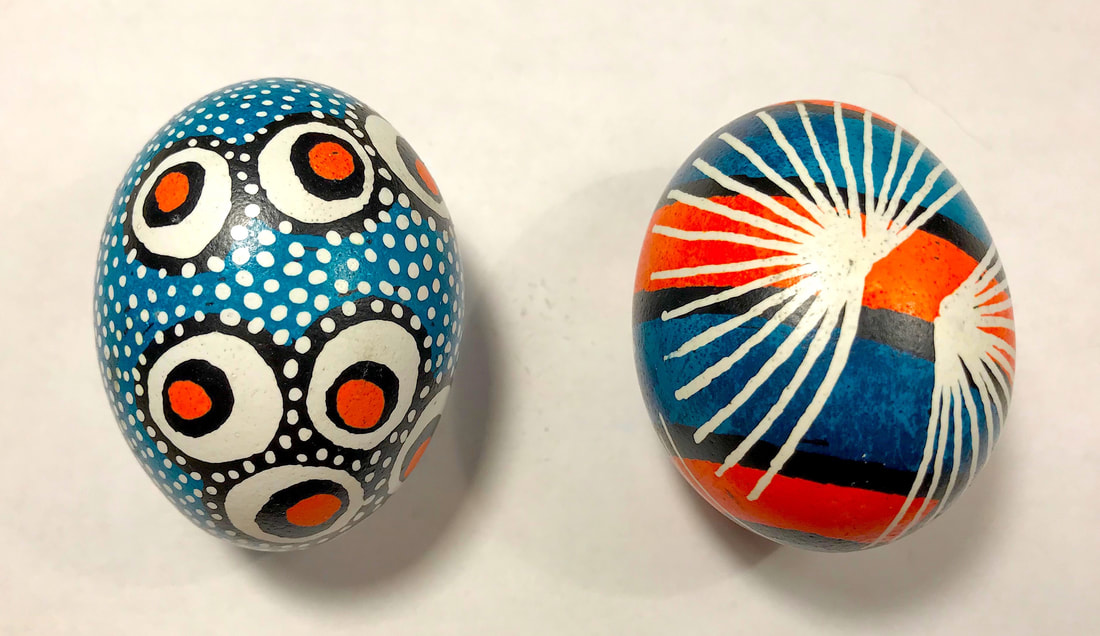
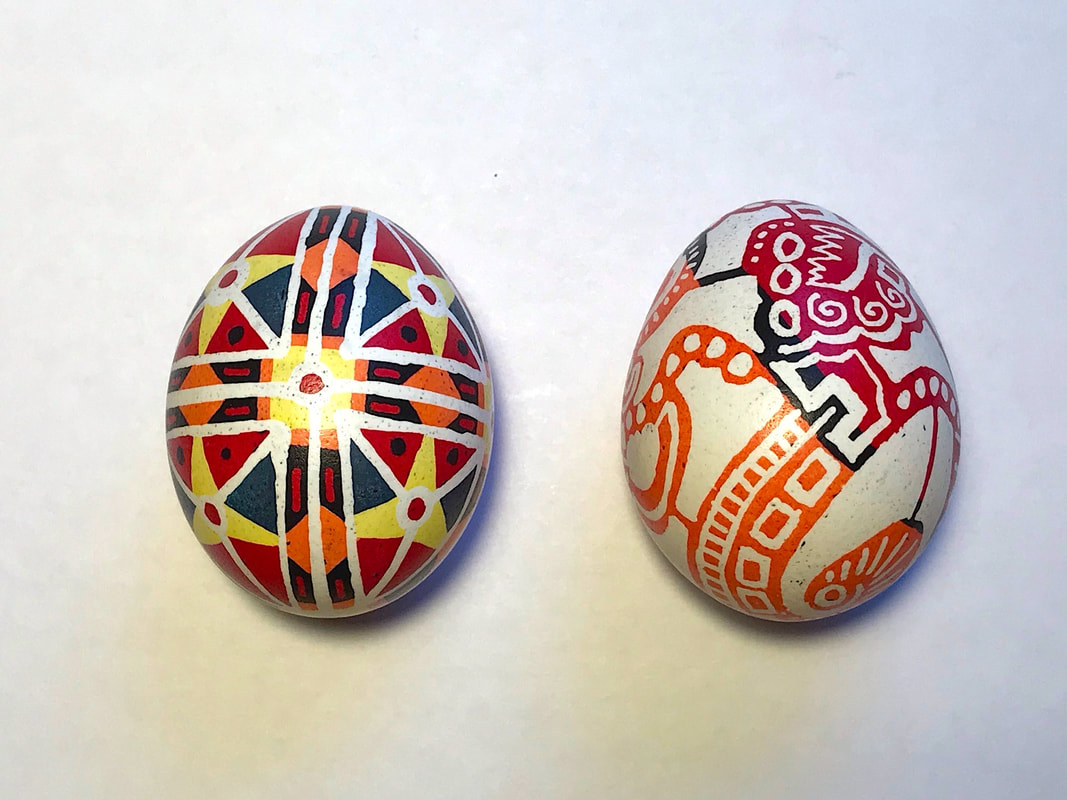
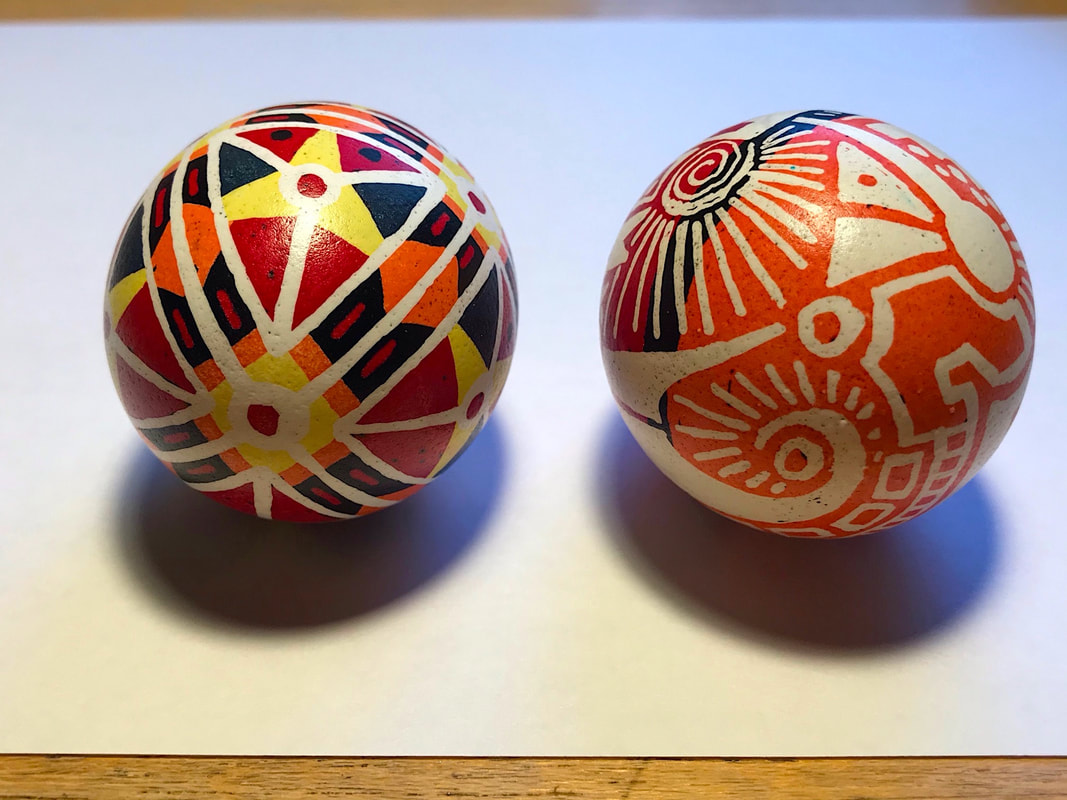
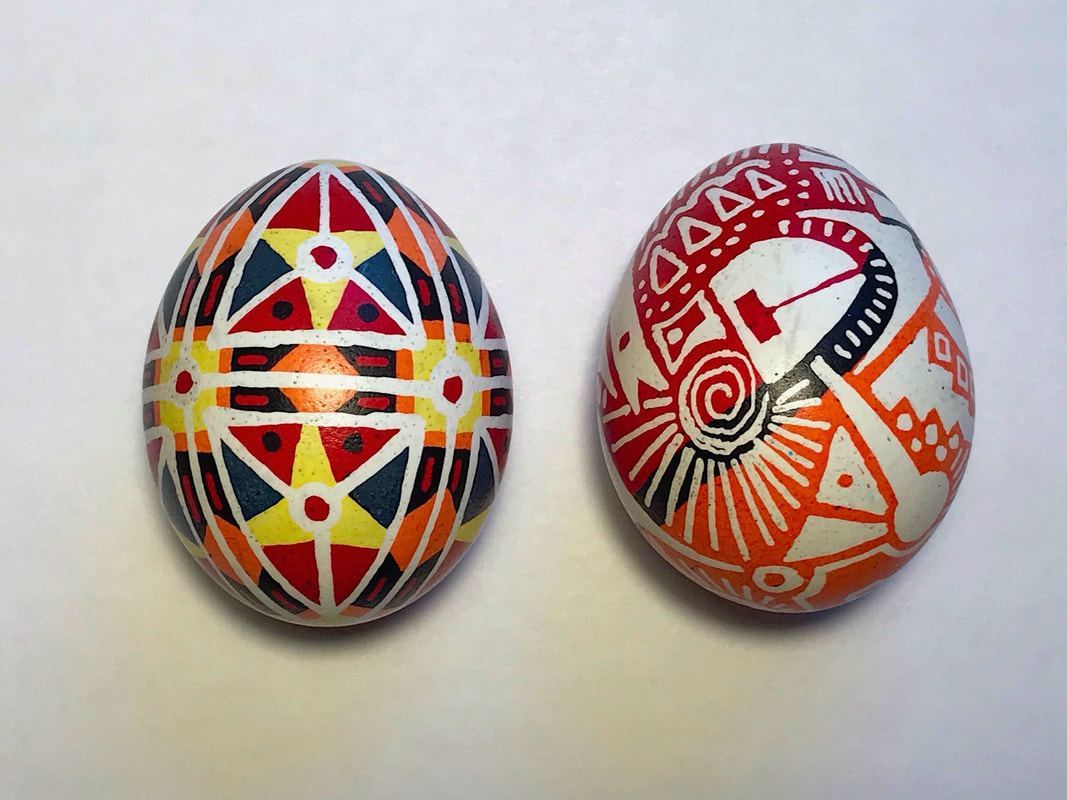
Eggs made in 2012Eggs made in 2012Eggs made in 2018Eggs made in 2019 |
|
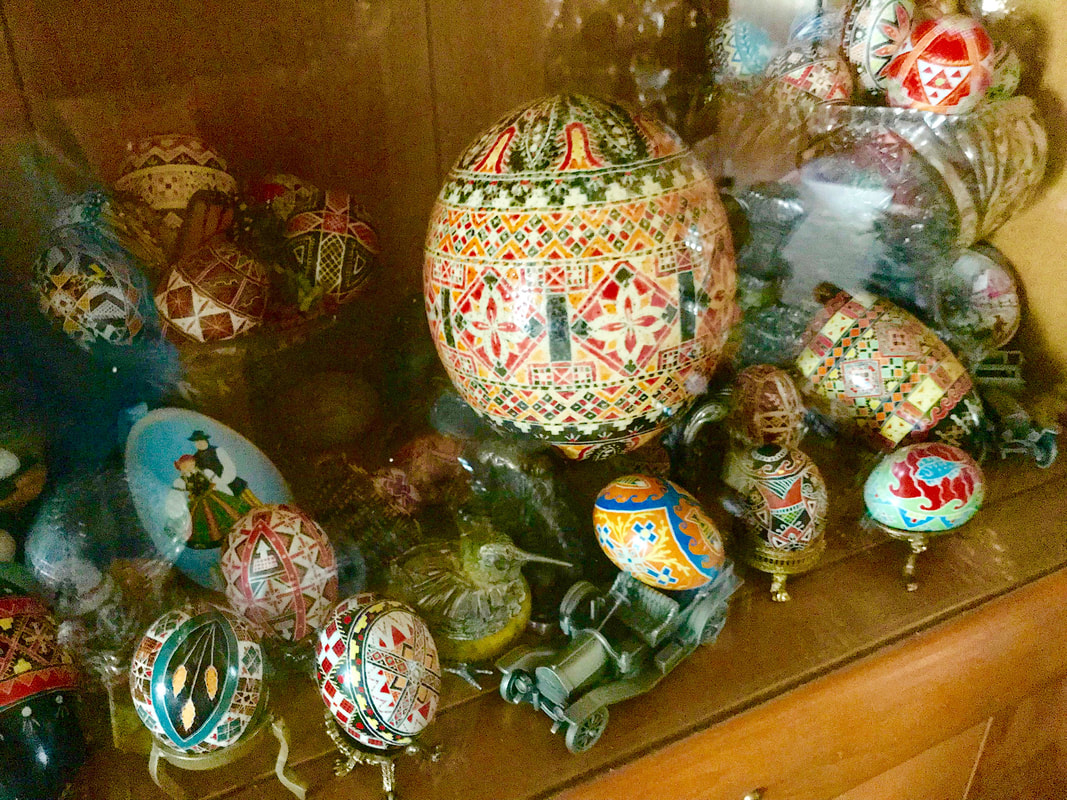
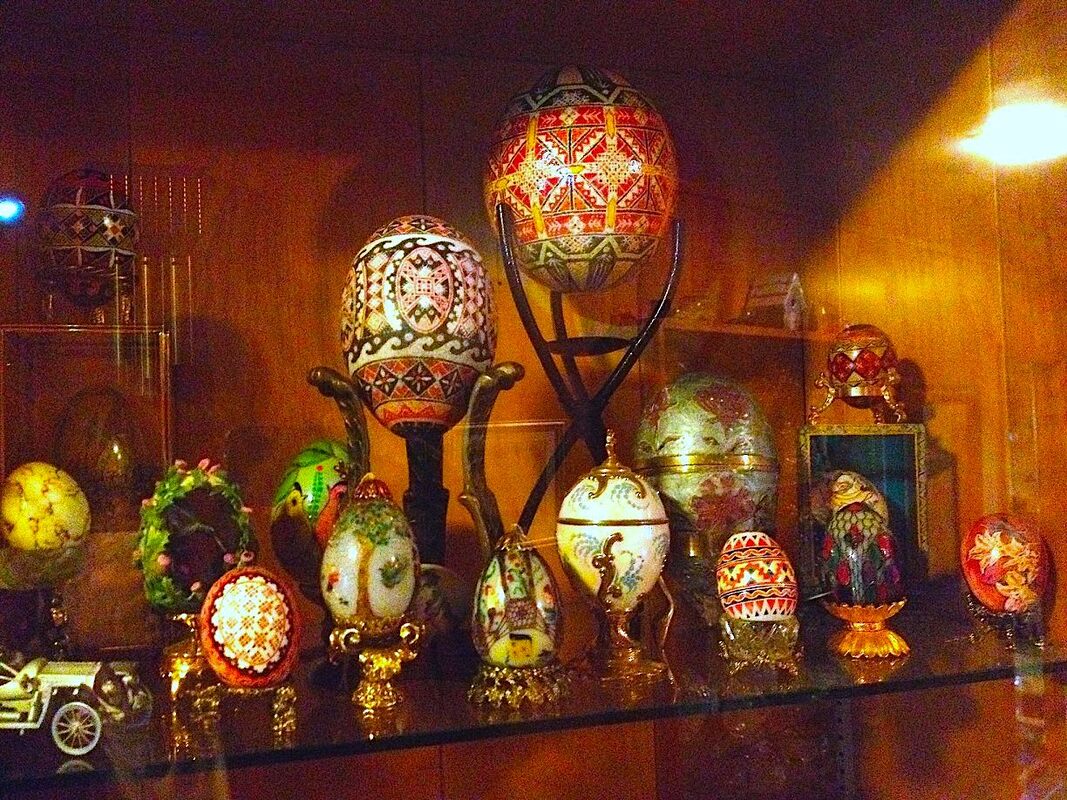
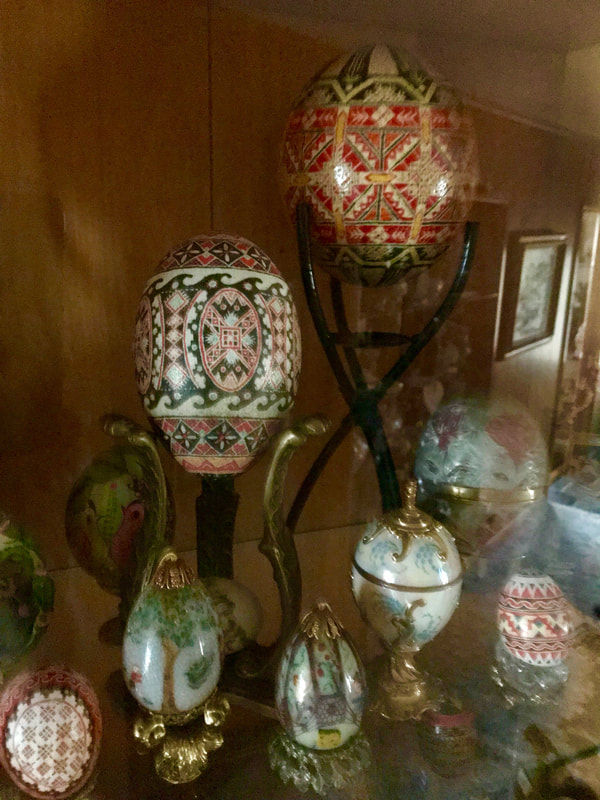
This is a display case in my parents house that my dad built many years ago. It showcases many of my moms amazing eggs that she created throughout the years. The center egg in the above photo is a ostrich egg that she put over 400 hours time into to create it. This ostrich egg masterpiece is a eye opener to everybody that has ever created Ukrainian eggs. The other two larger eggs in the photos are emu egg center and ostrich egg top, which also were created to perfection. The ostrich and emu eggs are rarely used in creating the Ukrainian egg art since the dye does not hold as well in the shells as the smaller chicken eggs do. This is only a small collection of the many eggs that were created over the years.
Juanita Karabin (mom) enjoying her 1/2 acre garden
|
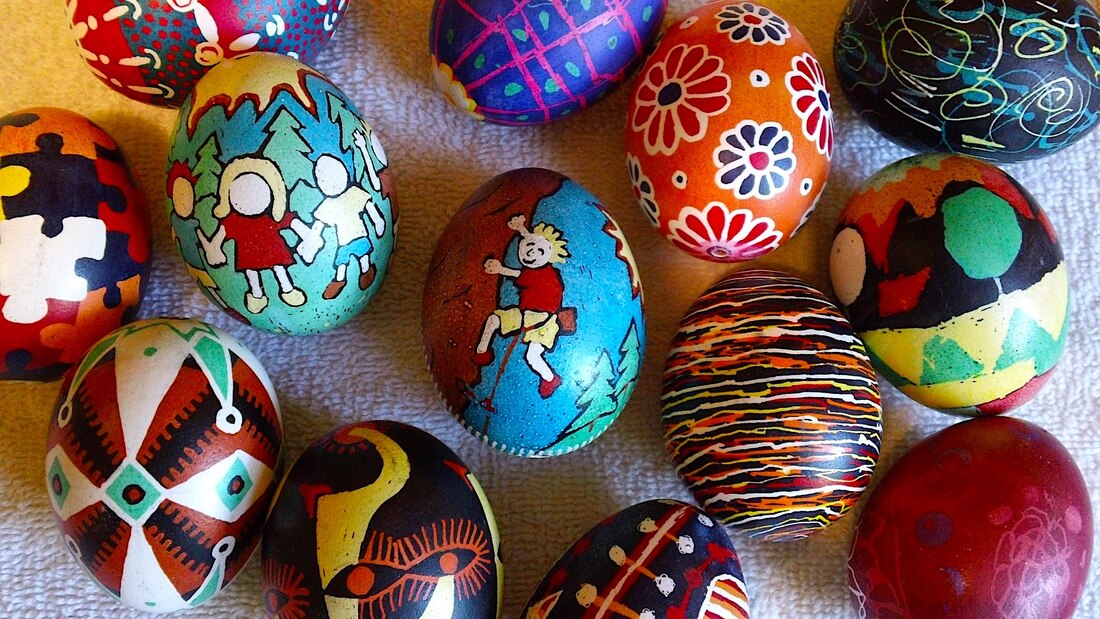
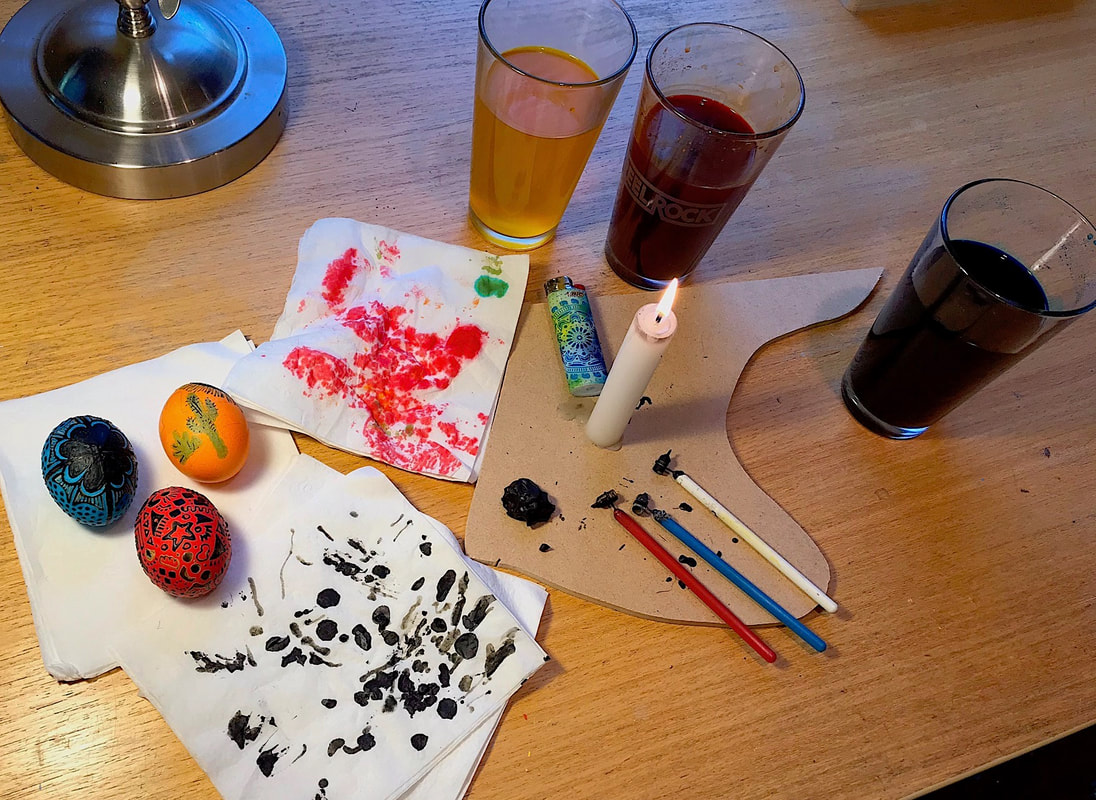
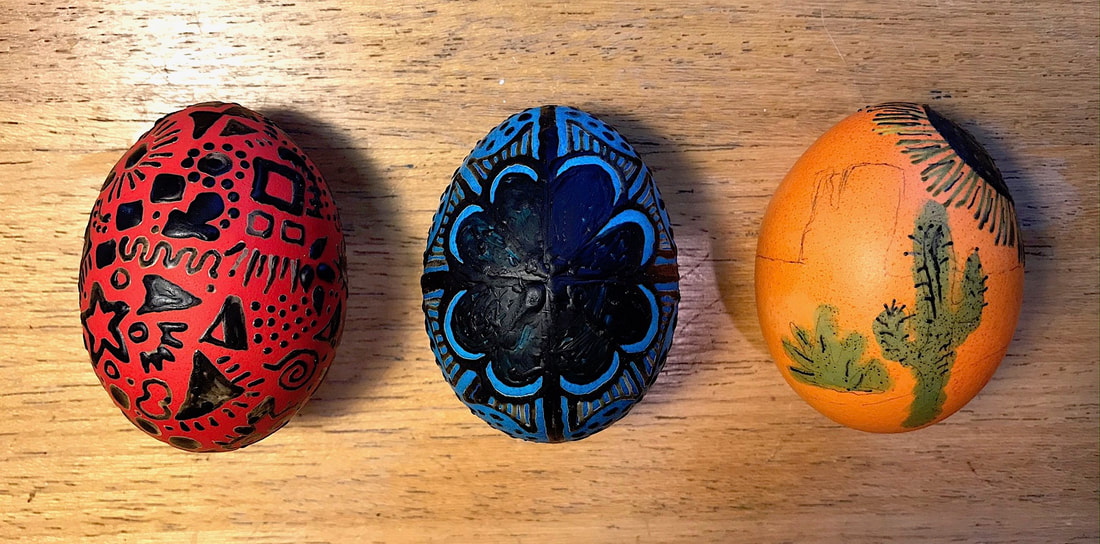
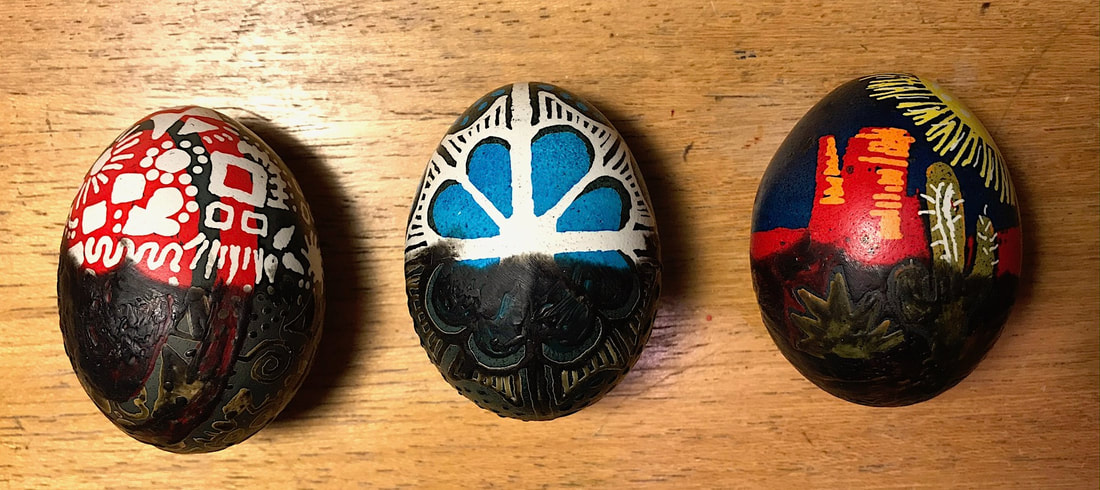
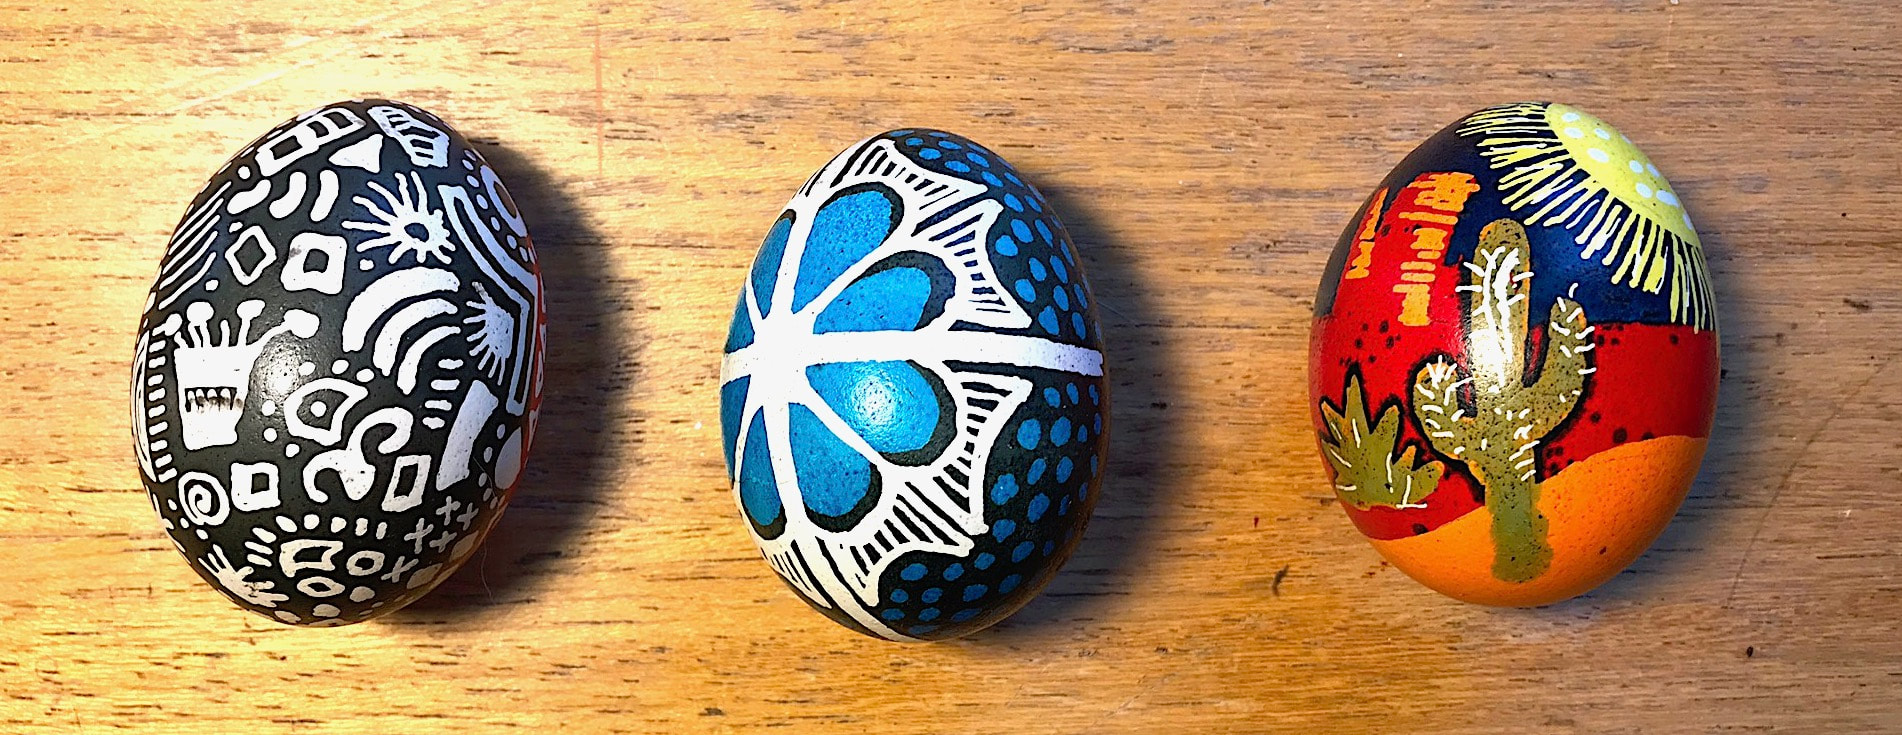
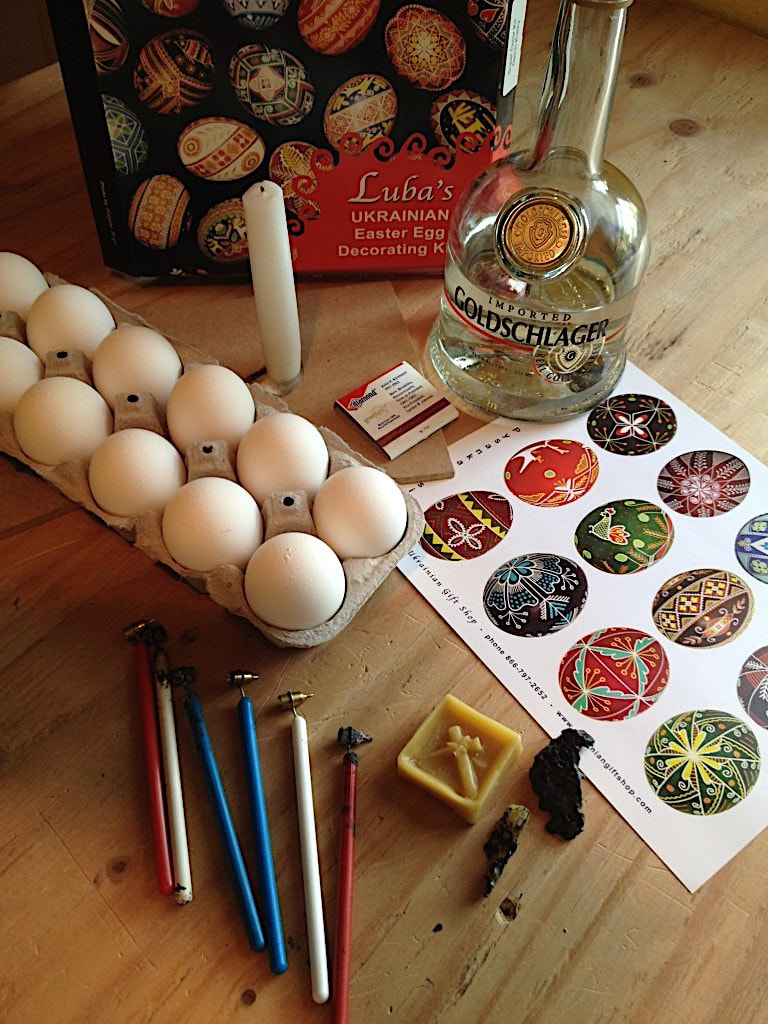
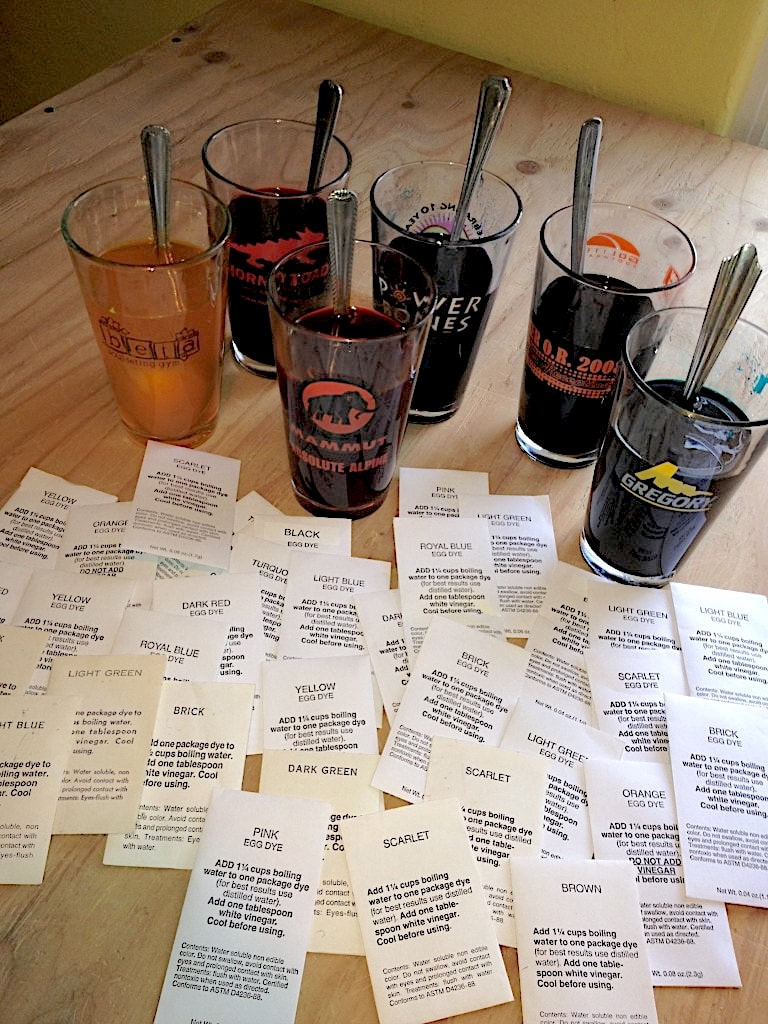
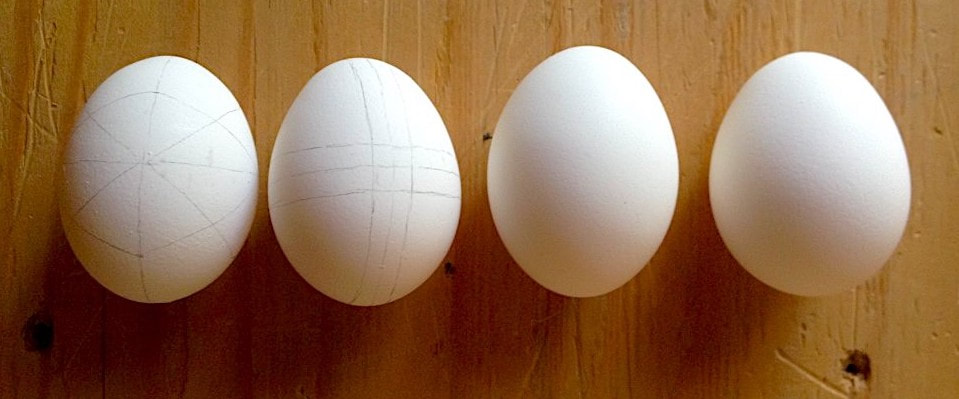
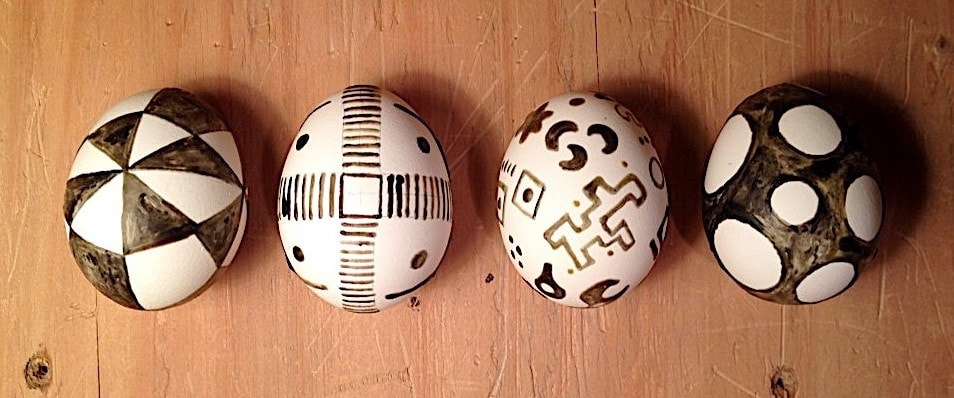
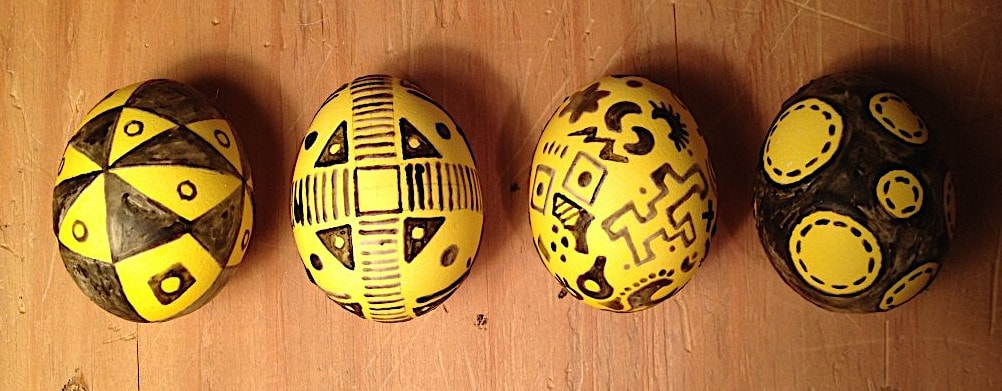
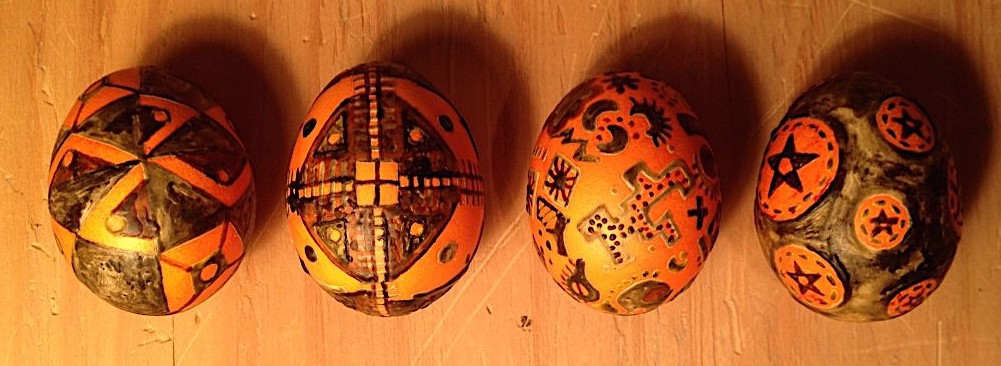
Eggs made in 2020Ok lets have some fun and make a few Ukranian eggs! No matter what every egg always comes out amazing!!! Start with a few white chicken eggs, a candle, beeswax, three sizes of kistkas, a few color dyes, and napkins.
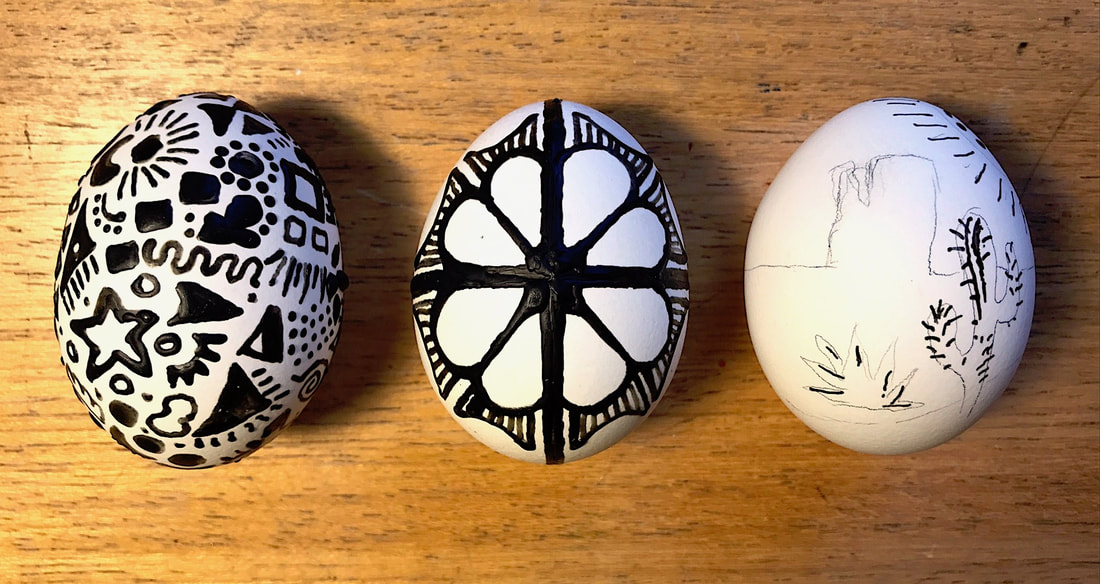
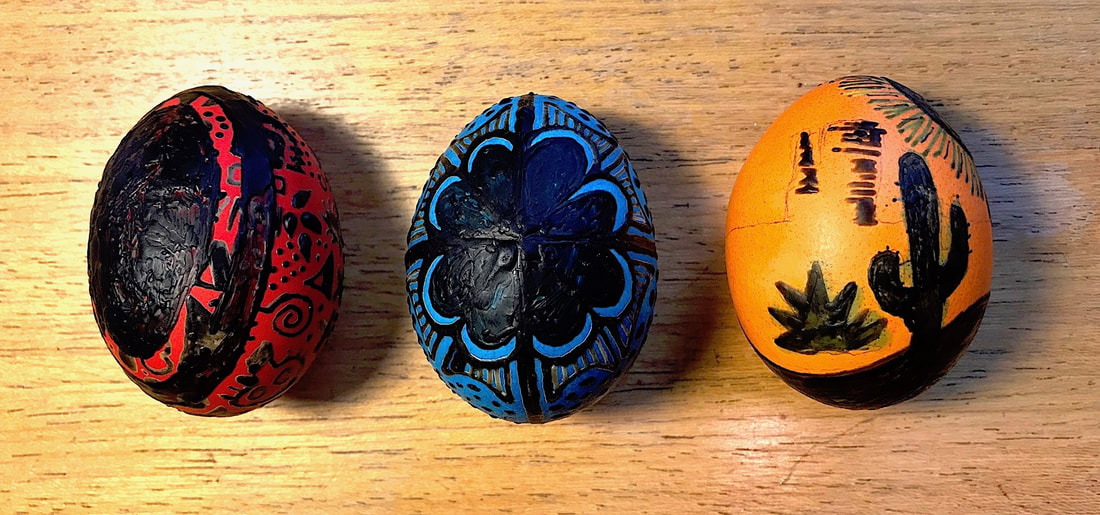
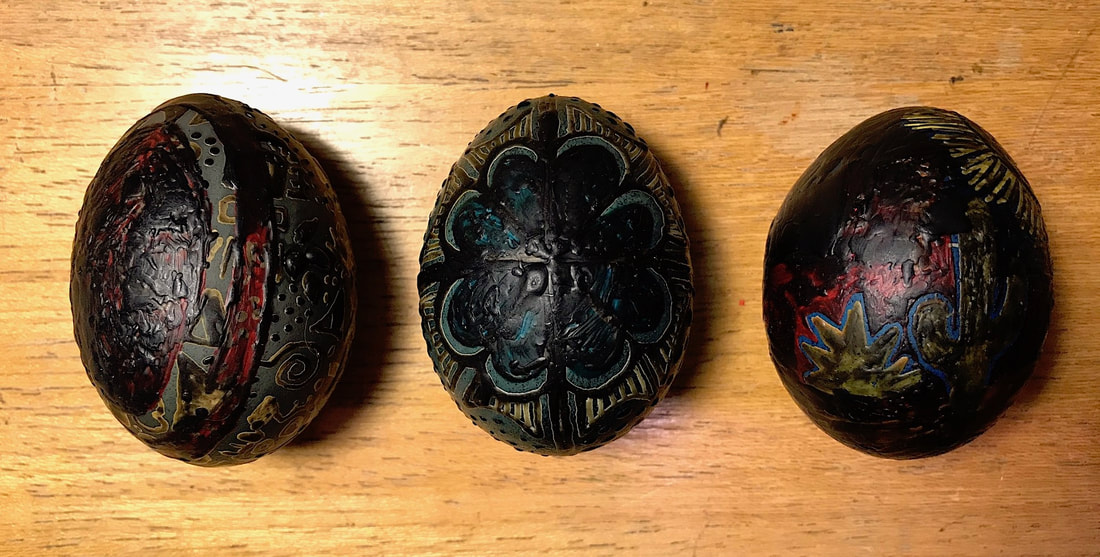
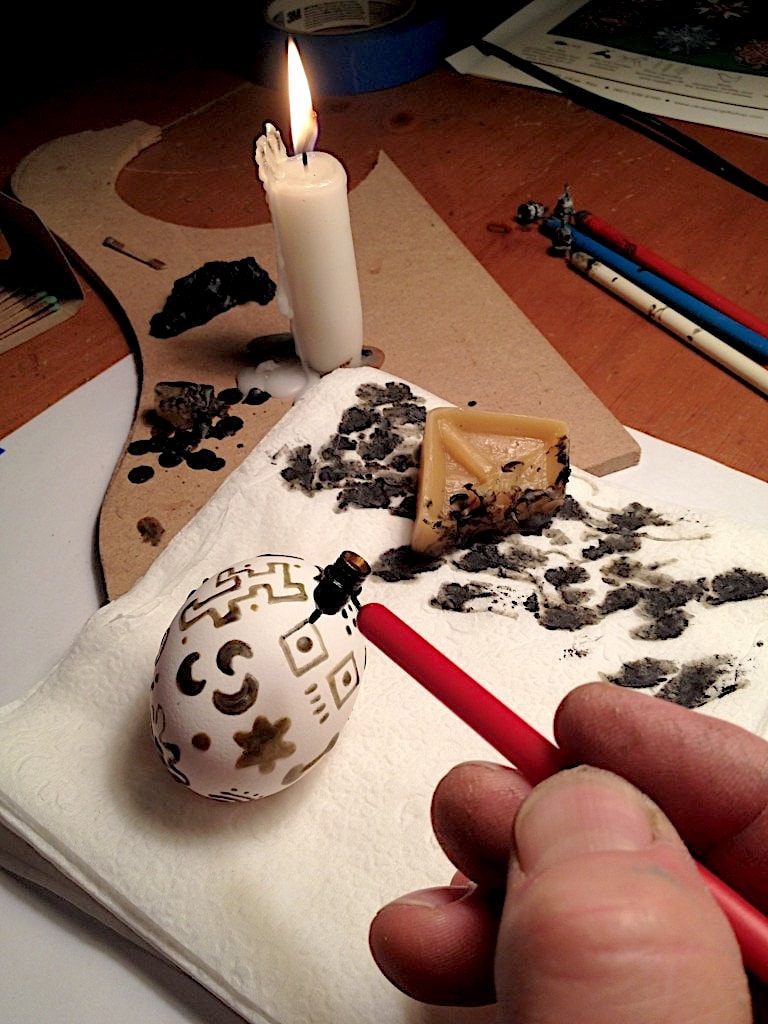
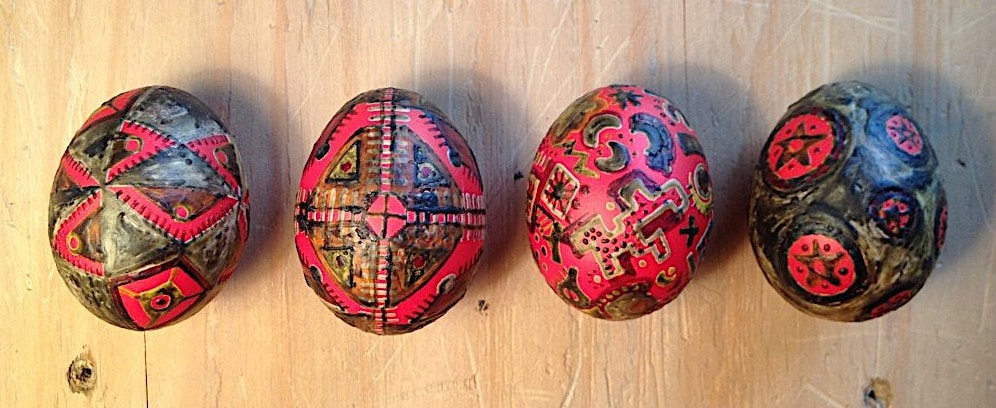
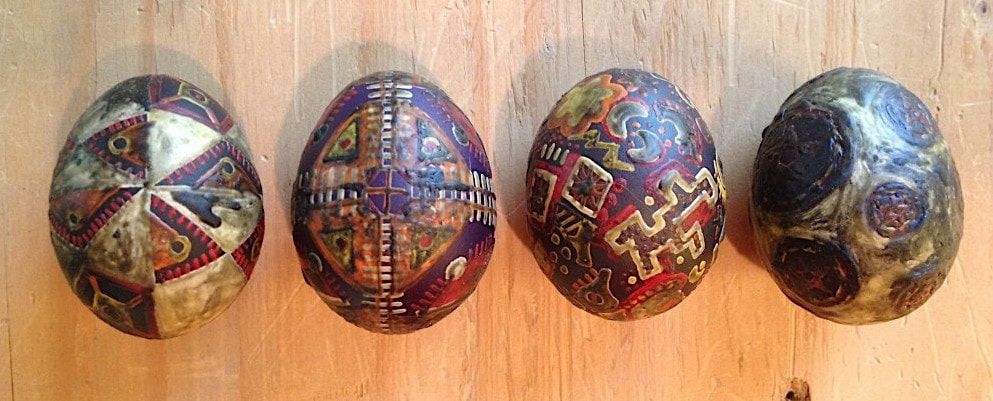
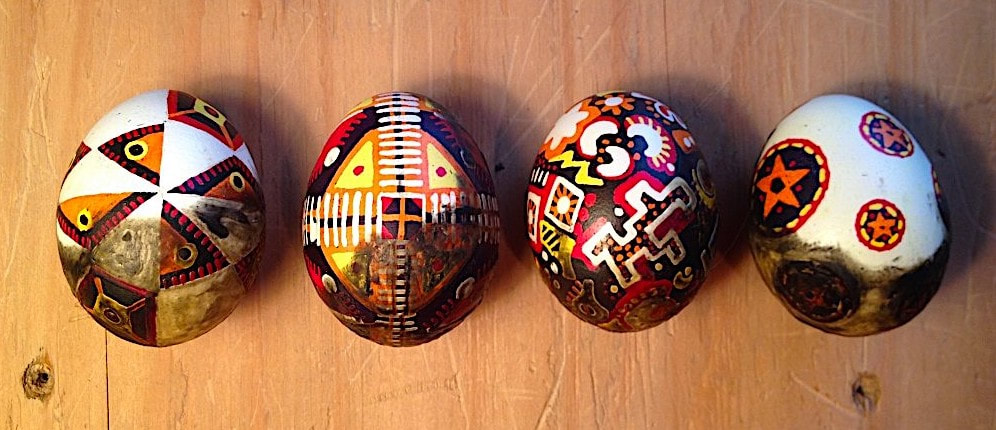
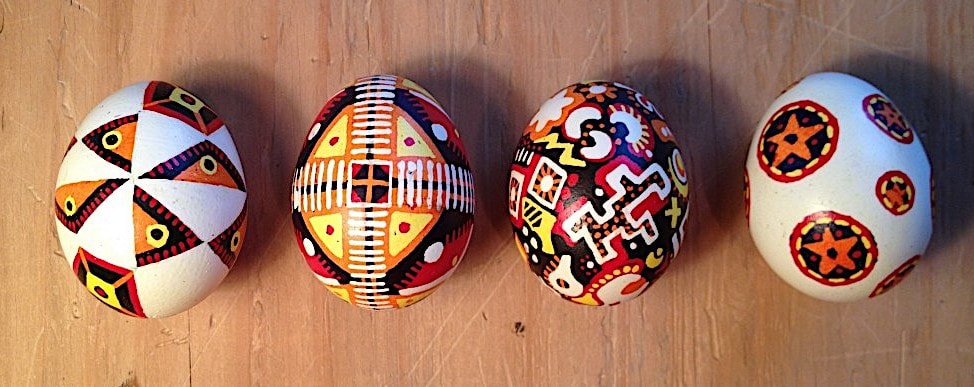
1-Using the candle flame heat up the kistka, which is a funnel with small hole on one end, and scoop up some beeswax. The beeswax at first is tanish colored but over time the carbon from the candle turns the beeswax black. The blackened beeswax is easier to see when drawing with it. The process is starting with white and progressively coloring the egg from lighter dyes to darker dyes. So wherever you want the egg to remain white, draw the beeswax on the egg to contain the white areas. Once finished place the egg gently into the yellow dye for 10 minutes….or more time for a deeper color. 2-The first egg went directly into the red dye. The second egg went directly into the blue dye and the areas to remain blue were covered. The third egg the yellow on the sun was covered and the egg was then placed in the orange dye. Afterwards green dye was carefully added by using a Q-tip dabbing the egg over dipping it completely in the green dye. 3-Next, on the first egg the red areas were covered with beeswax. The third egg the orange areas and green areas were covered up and then dipped in red dye. Then the red areas were covered up and the egg was then dipped in blue dye. 4-All three eggs were then dipped in black dye as the final color. At this point the eggs look like they are ruined. Hopefully the beeswax will contain the hidden colors perfectly. 5-Using the candle flame, gently hold the egg near the flame without burning your fingers. Use a napkin to wipe the melted beeswax from the egg. From flame to melted beeswax to wiping is done within two seconds, otherwise the beeswax re-hardens that quickly. So it takes a little time and patience to remove all of the beeswax from the egg. Remember if you drop the egg at any time it will crack and the egg is trashed. 6-Then the amazing egg design is totally revieled. The final step is to remove the yoke from the egg by drilling a hole at each end, then carefully blowing out the yoke. |
Step One
Step Two
Step Three
Step Four
Step Five
Step Six
|
Ukrainian eggs 2024 - Just got a new electric Kistka and dark spaghetti bees wax
